Weeding Bucket DIY: Simple Solution Makes it Easy to Weed
INSIDE: How to create your own weeding bucket so your weeding tools are always ready and waiting for you.
The best way to keep your weeds under control is to make weeding easier and more convenient.
Here’s all you have to do…
Make it a breeze to grab your weeding tools.
Yep, it’s that simple!
And the best way to do that is to stash a weeding bucket (or two) in your garden right where the weeds are.
No more misplaced weeding tools means you’ll save time.
And it’ll be convenient to weed for a few minutes whenever you spot new weeds sprouting up between your plants.
These buckets have been a game changer for me and my garden, and I know they’ll work for you too!
Keep reading to learn how easy it is to create your own weeding bucket(s).
This post contains Amazon affiliate links. As an Amazon Associate, I earn from qualifying purchases. So, I may get a small commission if you buy something after clicking through. I only link to products I would recommend to my best friend.

Supplies list
- 8-quart bucket or a 14-quart bucket
- Weeding tool
- Label maker
- Label maker tape (I used the 18 mm tape)
- Drill and ¼” drill bit
Why you need a garden weeding bucket (or two)
In my workshop, Freed From Weeding, I share a lot of tips and tricks to help gardeners like you get their weeds under control.
And one of my biggest tips for making weeding easier is to keep your weeding tools handy.
The easiest way to do it is to keep multiple weeding buckets stationed around your yard.
- I have weeding buckets for each major section of my yard. I have six total.
- I live on a large lot, so you may not need that many.
- You may only need two – one for your front yard and one for your backyard.
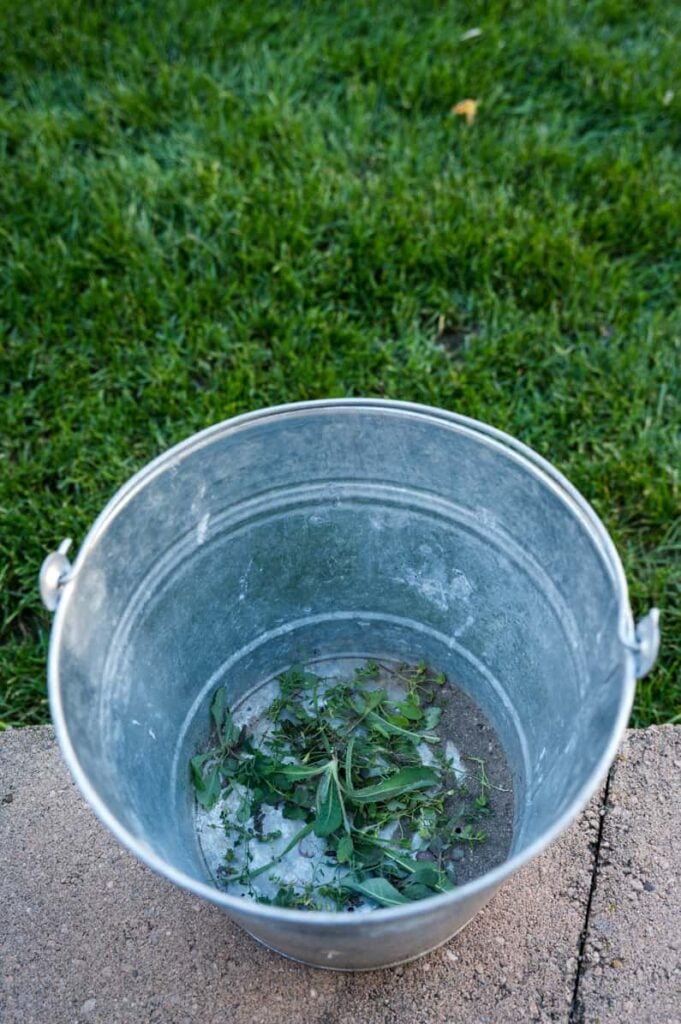
I also keep a basket near my back door where I store at least one pair of gardening gloves.
What I love most about these buckets is I can leave them out all year long without worrying about them.
We live in a high-wind area, and I’ve never had one get blown away.
So, I feel confident leaving them outside year-round.
It makes it so much easier to hand-pull my weeds when they’re small – which is one of the biggest ways to successfully control your weeds.
Whenever I’m going to weed, I just grab my gloves and head outdoors.
I know a bucket will be waiting for me no matter what part of the yard I’ll be weeding.
How to make a weeding bucket from a metal bucket in 8 easy steps
It’s critical to keep track of the buckets by labeling the bucket and the weeding tool.
In my garden, the rule is they stay together and go back to their storage spot when I’m done with them.
Supplies and tools you need:
1. Metal bucket
You can make your garden bucket for weeds from either the 8 quart 14 quart buckets. I chose the larger size for larger parts of my yard.
I decided to use metal buckets rather than plastic because they’ll last much longer and are heavy enough not to get blown around in the wind. A 5-gallon bucket will deteriorate in the summer sun.
Drill some holes into the bottom for drainage.
2. Weeding tool
I love this hand tool because it’s heavy enough to keep the buckets from blowing away but light enough to use for hours.
It’s sturdy and has remained sharp after years of use in my heavy clay soil.
3. Brother label maker and tape
This is one of my all-time favorite organizational tools. I’ve used it to label everything from household scissors to my weeding tools.
It makes it easy to return things to their proper storage spot! And the labels last – I’ve never had one peel, crack or fall off, even the ones I leave outside all year round.
4. A drill and ¼” drill bit
You’ll use these to drill drain holes in the bottom of the bucket(s).
Instructions
- Choose the size of bucket to purchase—either an (8-quart or a 14-quart).
- Decide what to label each bucket and tool. (I’ve labeled mine things like “Front,” “Deck,” and “Veg.”)
- Drill six drainage holes in the bottom of each bucket.
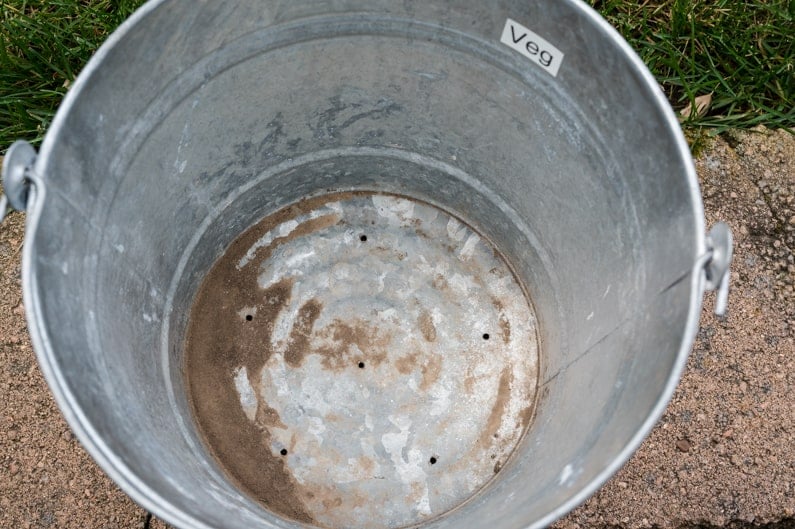
- Print up two labels per bucket.
- Attach one to the bucket.
- Attach the other to the tool.
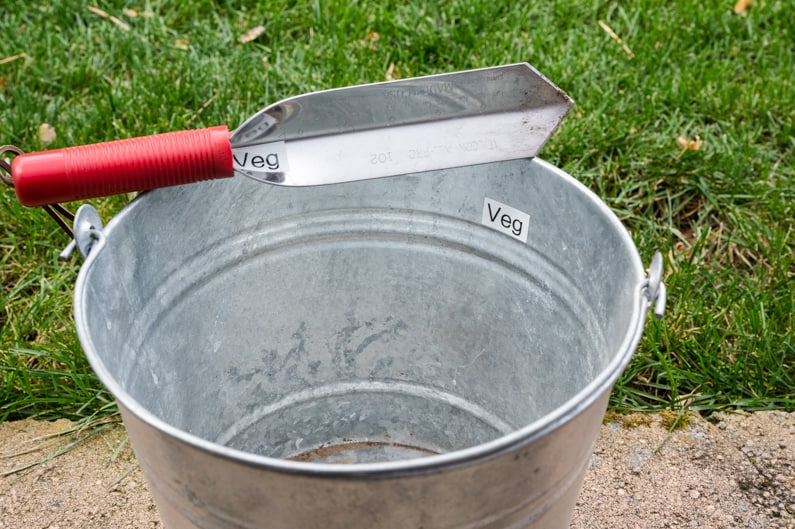
- Set the bucket(s) out in your yard.
- Get ready for weeding to be easier and more convenient!
Don’t underestimate how many buckets to create.
Create enough buckets to make it easy to grab one no matter where you are in your garden.
And don’t make these from a plastic bucket—they’ll fall apart in a season or two.
Watch Dr. Denise DeBusk explain how integrated weed management will help you have fewer weeds
How to use your weeding bucket
I suggest using your weeding bucket as a way to limit how much time you spend weeding so that it doesn’t feel like a chore.
You can either:
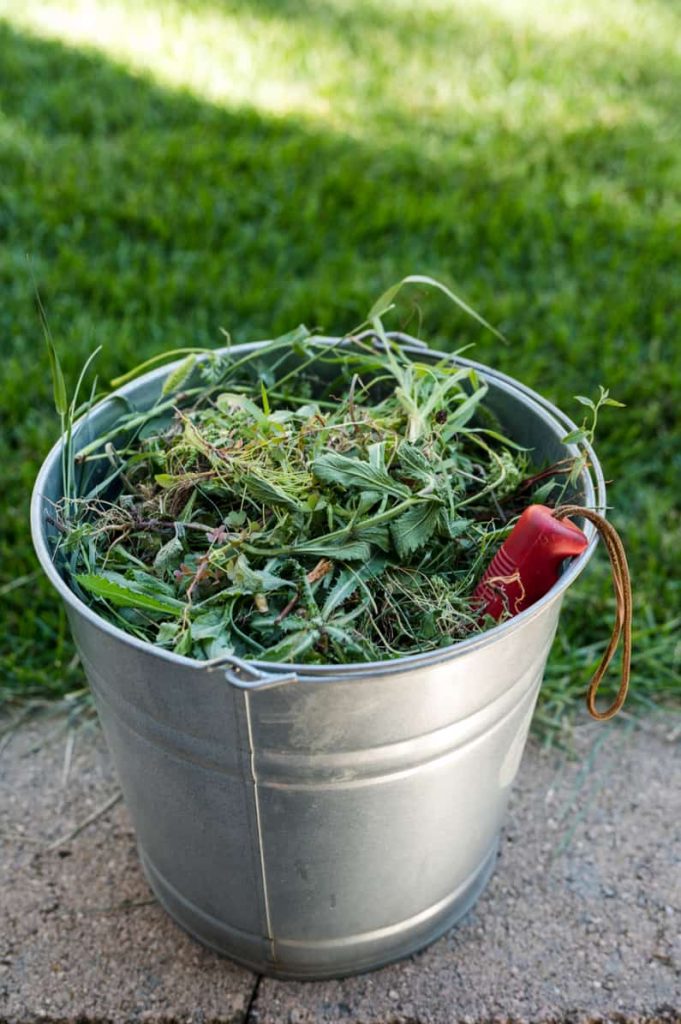
- Weed until you’ve filled the bucket.
- Or you can weed a part of your garden until you’ve filled the bucket OR weeded the entire area, whichever comes first!
And be sure to put your bucket and tools back where they belong when you’re done.
Unfortunately, weeding is one of those necessary garden chores we all have to do.
By creating a weeding bucket, you can make sure you always have the right tools when you need them because they’re easy to find. Just grab your gardening bucket and get to weeding!
Even if you only weed for a few minutes a day, it’ll have a HUGE impact on how many weeds you have down the road.
You’ll finally be able to enjoy your garden without stressing about the weeds taking over!


I do basically this. I use plastic buckets because I have plenty from my pottery studio. I also use a 2″ mortar trowel that I have sharpened the edges with a lawnmower blade sharpening file. The offset handle is easier in my wrists, and the blade can cut under shallow weeds without disturbing the dust mulch a lot. It’s a Marshalltown margin trowel with a wooden handle. Give it a try.
Hey Gayle,
I love your idea of using plastic buckets from your pottery studio as a weeding bucket. It’s always great to repurpose items and reduce waste! Your sharpened mortar trowel with an offset handle also sounds like a great tool for weeding shallow weeds without disturbing soil and bringing up weed seeds. I appreciate you sharing your experience!
Love the idea of the weed bucket. Going to give it try.
Hi Diane,
It’s great to hear that you liked the idea of the weeding bucket. It’s such a simple yet effective solution for keeping your garden tidy and weed-free. I’d love to hear how it goes! Feel free to share your thoughts or any changes you made.